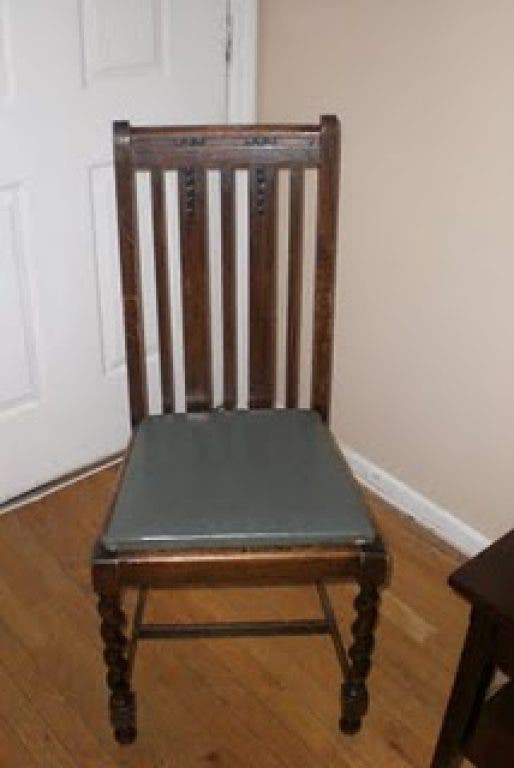


We inherited these chairs from HB’s parents. Lucky for us they were moving at the same time we closed on our home, which meant we received a Duncan Phyfe drop-leaf table and four chairs (I am not sure if the chairs are Duncan Phyfe, but I still love them all the same).
While I love the chairs (especially the legs), I wasn't so fond of the blue vinyl cushions. I have such an appreciation for old, well-made furniture. But the truth is if it has been taken care, it can be modernized easily. After watching how simple it seemed on TV to recover the cushions, I was ready to tackle the DIY project.
Items needed:
Find out what's happening in Del Raywith free, real-time updates from Patch.
1. Fabric: I brought a cardboard cutout of the seat cushion with me to the fabric store to make sure I got enough fabric.
2. Foam for padding: This can be purchased at the fabric store. I used half-inch wide foam.
Find out what's happening in Del Raywith free, real-time updates from Patch.
3. Batting
4. Spray adhesive
5. Staple gun
6. Screwdriver
7. Needle-nose pliers
The Details:
1. First, I removed the cushions from each chair. Remember, if the don’t pop right off, they might be attached via screws from the bottom. The best way to remove them is to turn the chair over and unscrew the cushion from the bottom of the seat area.
2. If after unscrewing the cushion is still attached, you can give the seat cushion a little push from the bottom to free them. After years of people sitting on them, they might be a little stuck.
3. Make sure you keep the screws. They will be essential in getting the cushions back on when you are finished.
4. Remove the old cushion by removing the old staples first. You can use needle-nose pliers to pull out the old staples or use a flathead screwdriver to get under the old staples to pry them free. I prefer the pliers.
5. After removing the old cushion, you should be left with the wooden part of the seat. Use it to determine where to cut on the foam first. Use the seat’s shape as a stencil and trace around it on the foam and cut it out of the foam using scissors.
6. Now that you have a foam piece for your seat, use some spray adhesive to affix the foam to the wooden seat piece you used as your stencil.
7. Now that you know how thick your seat cushion will be, place the seat (with foam affixed, foam side down) on the batting to trace it. This time you will want to make sure that the batting will reach to the wood seat and leave room for you to staple the batting to the wood later. Cut out the batting.
8. Use the staple gun to affix the batting to the wood seat using one staple per about 3 inches. You will be adding more staples when you put the fabric over the seat—and you won’t see the batting.
9. Repeat steps 7 and 8 with the fabric this time. If using a patterned fabric, make sure the pattern is straight before you cut it out.
10. When stapling the fabric, make sure that the staples are about a half-inch apart to hold the fabric. If you leave too much space between staples, you could end up with a bumpy looking cushion.
11. Put the newly covered cushion back on the chair and screw it back into place.
Here is my chair before and after; a quick and easy solution to make the chairs fit into our home a little better.
Follow our journey at Urban Renewal


